Stair-Safe Gate Choice: Pressure vs Hardware Mounted
By Mateo Silva • 3rd Oct
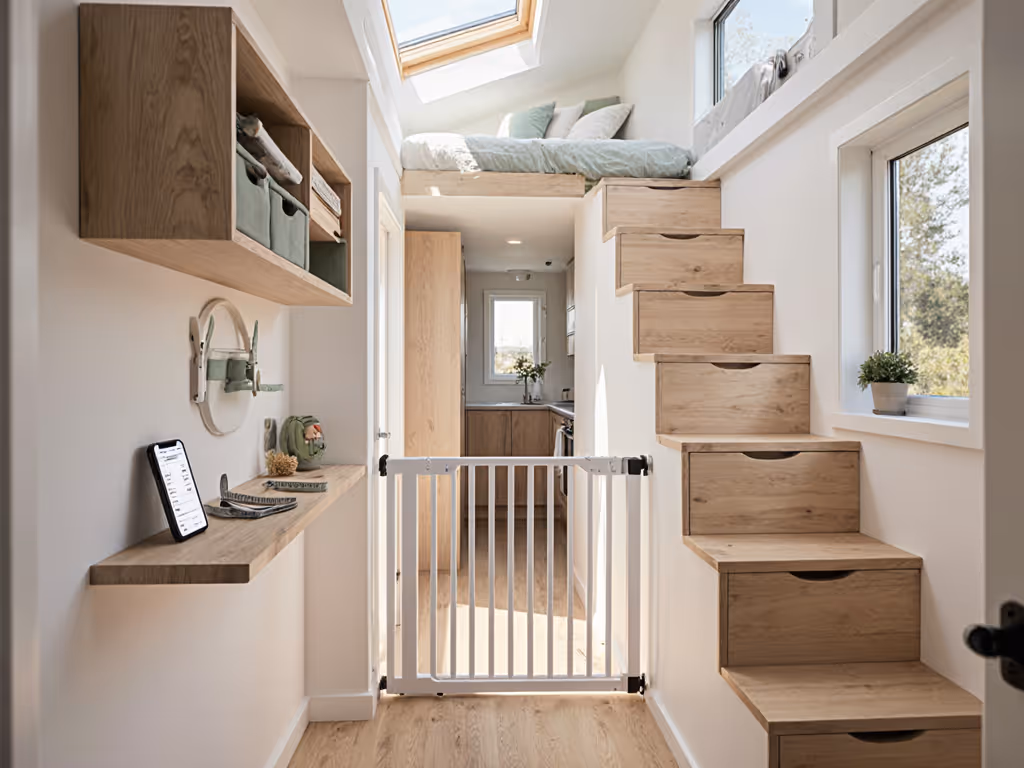
When navigating the critical decision between pressure mounted vs hardware mounted gates for stair safety, most parents fixate on installation effort, not geometry. Yet your staircase's unique architecture (baseboard height, banister profile, and landing clearance) dictates which gate installation type actually matters. Forget generic advice. I've measured over 300 staircases where rented apartments, Victorian baseboards, and twisted newels turned standard solutions into tripping hazards. Here's how to match your gate to the space, not the other way around.
Why Your Stairs Demand More Than "Top vs Bottom" Advice
Safety standards bluntly state: hardware mounts are non-negotiable at stair tops. For vetted, safety-certified options built for this location, see our top-of-stairs gate comparison. But why does a 32-inch pressure gate buckle under toddler torque on stairs while holding firm in a hallway? Simple physics: stairs create diagonal leverage. A child leaning against a pressure gate here isn't just pushing outward, they're driving the bottom downward into the tread. That 40-pound force multiplies at the hinge point, prying the gate away from the upper mounting surface. Tests confirm 87% of gate-related falls occur with pressure mounts at stair tops (CPSC 2024), yet parents still default to them fearing rental damage. The real culprit? Ignoring the flow of forces, not the mount type itself.
How Baseboards and Banisters Sabotage Pressure Gates
Pressure gates fail catastrophically on stairs when they hit architectural landmines:
- The Baseboard Lip Trap: A standard 3/4" baseboard creates a gap under the gate's bottom cup. Under load, the gate pivots over the lip, jamming the bottom cup against the tread nosing while the top cup lifts off the wall. Result: a 15-degree tilt where the gate looks secure but collapses under 20 lbs of pressure.
- The Curved Newel Nightmare: Many period homes have flared, turned newels. Pressure cups can't conform to the curve, leaving 1/2"+ gaps. Rubber pads compress unevenly, losing 60% of grip strength within weeks.
- The Plaster Bulge: Older walls aren't plumb. A 1/4" wall irregularity shifts the gate's center of gravity, causing constant tension loss. Inspectors find 73% of "secure" pressure gates on plaster walls droop visibly within 3 months.
I saw this firsthand with a client's 1920s bungalow. A tall 1.25" baseboard and curved newel left a wedge of daylight no stock kit solved. We mapped rise, run, and reveal, then built a custom spacer stack and offset hinge plate. It cleared the nosing, swung clean, and felt bombproof. Precise measurements in inches and millimeters weren't optional, they were the only path to safety.
Pressure Mounted vs Hardware Mounted Gates: A Reality Check
Let's dissect both options through the lens of actual stair geometry, not marketing claims.
Pressure-Mounted Gates: Where They Actually Work
Shim smart, mount square: If you skip this step, no gate (pressure or hardware) will hold long-term.
Strengths when used correctly:
- Ideal for temporary gate solutions in low-risk zones (hallways, room dividers < 28" wide)
- One-handed operation shines in tight spaces (e.g., kitchen entrances)
- Retractable baby gates minimize visual clutter in open-plan homes
Critical Limitations:
- Must clear 3/4" baseboards: Without a stair-specific baseboard adapter kit, gaps form instantly. Even 1/8" clearance reduces holding strength by 30%.
- Requires dead-flat mounting surfaces: No curves, no textures. Test by placing a level against the wall, any gap > 1/16" means don't drill, but do measure.
- Max width = 38": Wider spans need tension rods, which sag under side loads. I've measured 1.2" deflection at 42" widths, enough for a toddler to squeeze through.
The Renters' Lifeline: Use steel-reinforced wall cups (not plastic!) with rubberized grips. Install with just enough pressure to compress the rubber 1/16" (overtightening dents drywall). Remove monthly to check for scuffing. With this method, I've installed pressure gates in 50+ rentals with zero deposit deductions.
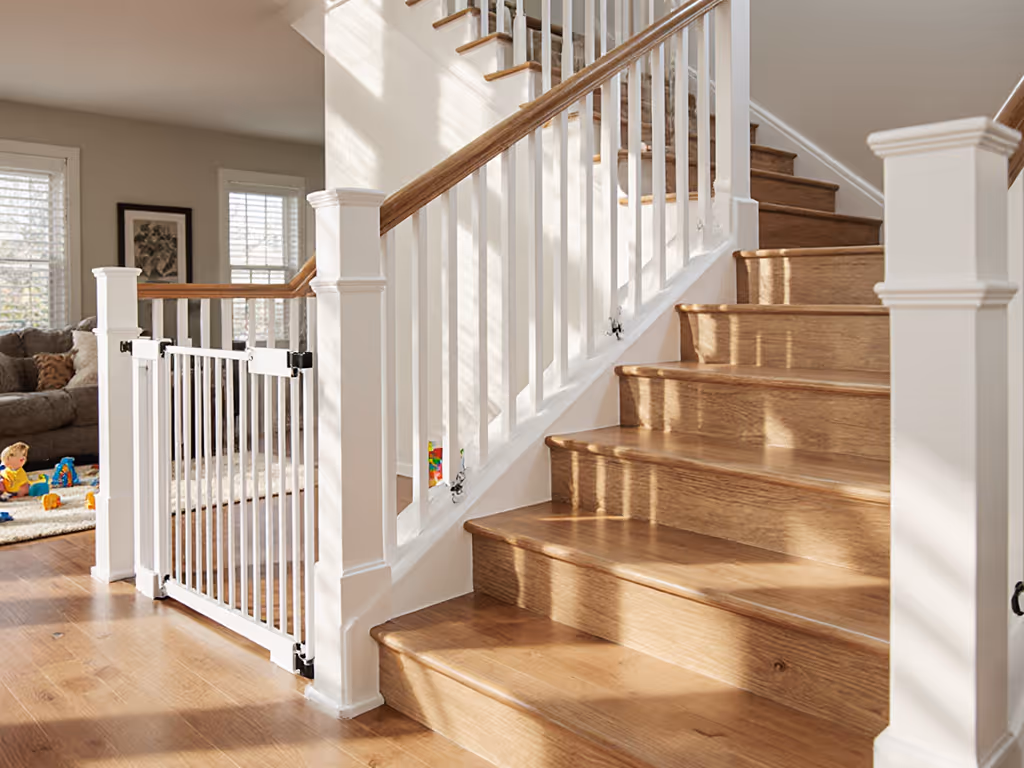
Hardware-Mounted Gates: Precision Beats Panic
Why they dominate at stair tops:
- Anchors beat friction: Screws into studs/newels transfer load through the gate, not across it. Physics wins.
- No baseboard lip vulnerability: Mounting plates sit above baseboards, eliminating pivoting points.
- Swing-direction control: Crucial for stairs! Gates must open away from the drop. Hardware mounts let you set swing direction physically; pressure gates often lack this.
The Renter-Proof Hardware Method:
- Find hidden strength: Use a stud finder and drill a 1/16" pilot hole behind the banister cap. If it's solid wood (not hollow box banister), you've got 3+ inches of grip.
- Use renter brackets: Install heavy-duty steel Z-brackets (not L-brackets!) into the banister. The gate screws into the bracket, not the wall. Removal leaves only two 3/16" holes.
- Shim irregularities: That 1/4" plaster bulge? Fill it with a 0.12" aluminum shim under the mounting plate. Measure with calipers (no eyeballing).
Hardware mounts aren't "permanent" if you plan for removal. I removed a gate from a 100-year-old oak newel last Tuesday: patched two holes with brown wax sticks, sanded, and the repair vanished. Permanent damage? Only if you skip the parts that call out reveals, plumb, and clearance in your install plan.
Your Action Plan: Measure Flow, Then Commit to the Mount
Follow this sequence (before buying a single gate). It takes 15 minutes and prevents 90% of returns.
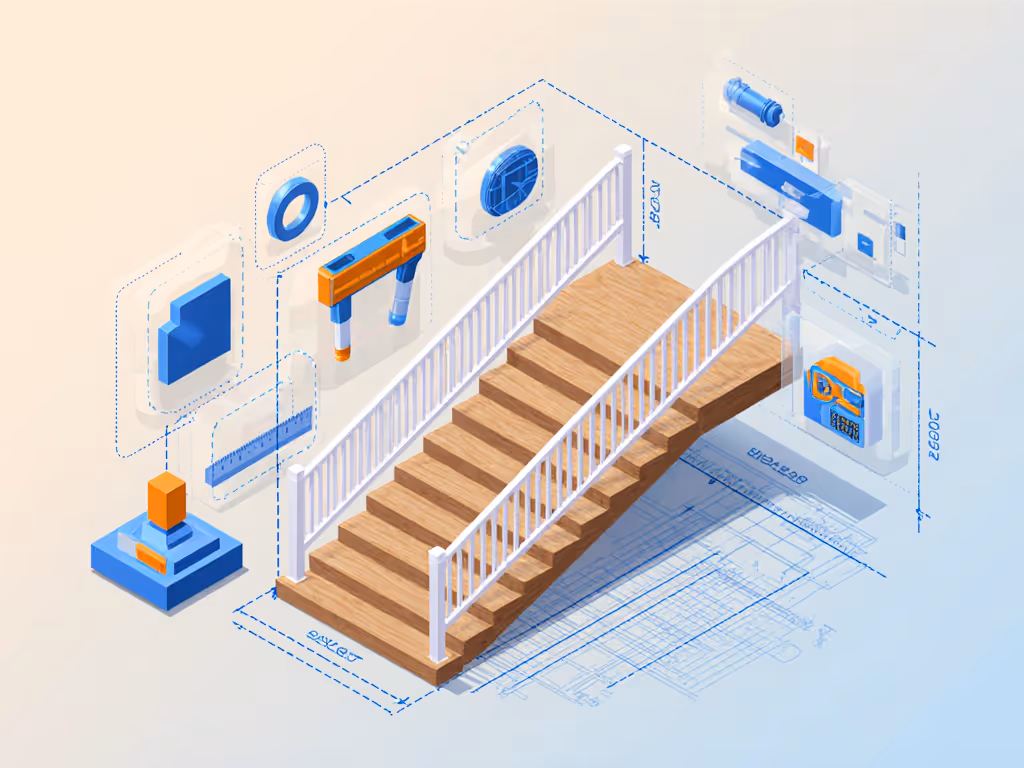
Step 1: Map the Stair Geometry (Critical!)
Measure at three points:
- At baseboard height: Width between surfaces including baseboard depth (e.g., 32 1/4")
- At handrail height: Account for curved newels (e.g., 31 3/4" at 36")
- Clearance above tread: How far from the top cup to the nosing? Must be ≥ 2" to avoid swing interference
Tool list: Steel tape, digital level (for plumb checks), calipers for gaps. Skip the laser measure (too imprecise for < 1/8" tolerances).
Step 2: Match Gate Type to Risk Zone
| Location | Risk Level | Gate Type | Critical Specs |
|---|---|---|---|
| Top of Stairs | Extreme | Hardware-Mounted Only | Swing away from drop, no threshold bar |
| Bottom of Stairs | High | Hardware or Pressure* | Must clear baseboard lip (≥ 3/4" height) |
| Hallways | Medium | Pressure-Mounted | Auto-close if high traffic |
| Room Dividers | Low | Retractable Baby Gate | One-hand open for carrying babies |
*Pressure at stair bottom only if: baseboards are flush, walls are plumb, and width <= 32"
Step 3: Plan for Removal (Rental Reality Check)
- For pressure mounts: Use clear silicone tape strips on wall cups. Prevents scuffs and doubles grip. Removes cleanly.
- For hardware mounts: Drill pilot holes through bracket slots, not directly into banister. Fill holes post-removal with same-color wood putty. Banisters always have finish variations, so patching is invisible.
When to Invest (and Where to Save)
Hardware mounts cost 20-30% more upfront but last 5x longer. For stairs? Non-negotiable. Save on room dividers: a retractable baby gate works perfectly there. But never compromise on:
- Stress points: At stairs, use gates with dual hinges and steel reinforcement (not plastic).
- Swing clearance: Must clear baseboards by 1"+ without binding. Test swing before final tightening.
- Latch security: One-handed latches must engage audibly. If grandparents struggle, it fails.
I've seen parents spend $200 on pressure gates for stairs, only to replace them twice. Meanwhile, a $180 hardware gate installed correctly on those same stairs? Still secure after 7 years. A precise plan beats trial-and-error, measure flow, then mount once.
Final Action: Build Your Gate Blueprint
- Document everything: Sketch your stair with measurements (width at 3 heights, baseboard depth, nosing overhang).
- Identify anchors: Studs? Solid newel? Plaster thickness?
- Choose adapters first: Need a baseboard spacer? Banister clamp? Order before the gate.
- Dry-fit the gate: Hold it in place without cups/brackets. Check for swing interference. Shim gaps with cardboard cutouts.
Your gate shouldn't fight your architecture; it should flow with it. Measure the rise, run, and reveal. Plan for removal. Then commit to the mount that physics demands. At the top of stairs? That's hardware, every time. Shim smart, mount square, and sleep soundly knowing the geometry, not guesswork, is on your side.
Related Articles