Loose Baby Gate? Safety Checks & Fixes Guide
By Mateo Silva • 3rd Oct
Loose Baby Gate? Here's How to Diagnose and Fix It Before Disaster Strikes
If your baby gate wobbles like a loose tooth or fails basic gate safety checks, you're not just dealing with inconvenience, you're staring down a preventable hazard. As a handyman who's measured more staircases than I've had hot dinners, I'll tell you plainly: a gate that shifts under a toddler's push becomes a liability in seconds. The solution isn't just tightening a screw, it's verifying why the gate failed and applying precision fixes. Forget trial-and-error. Measure the flow, then commit to the mount. Here's how to transform a shaky barrier into a bombproof defense.
Why "Tightening Screws" Alone Fails (The Hidden Geometry Crisis)
Most parents grab a screwdriver when a gate loosens, only to see it sag again weeks later. Why? Because they're treating symptoms, not the root cause: unsupported geometry. Awkward angles, baseboard lips, or flexing banisters transfer stress to fasteners. Over time, even high-quality anchors pull loose under cyclical loads, like a toddler launching off the gate during play. The CPSC's vertical strength test (45 pounds of downward force five times) isn't theoretical; it's what your gate endures daily.
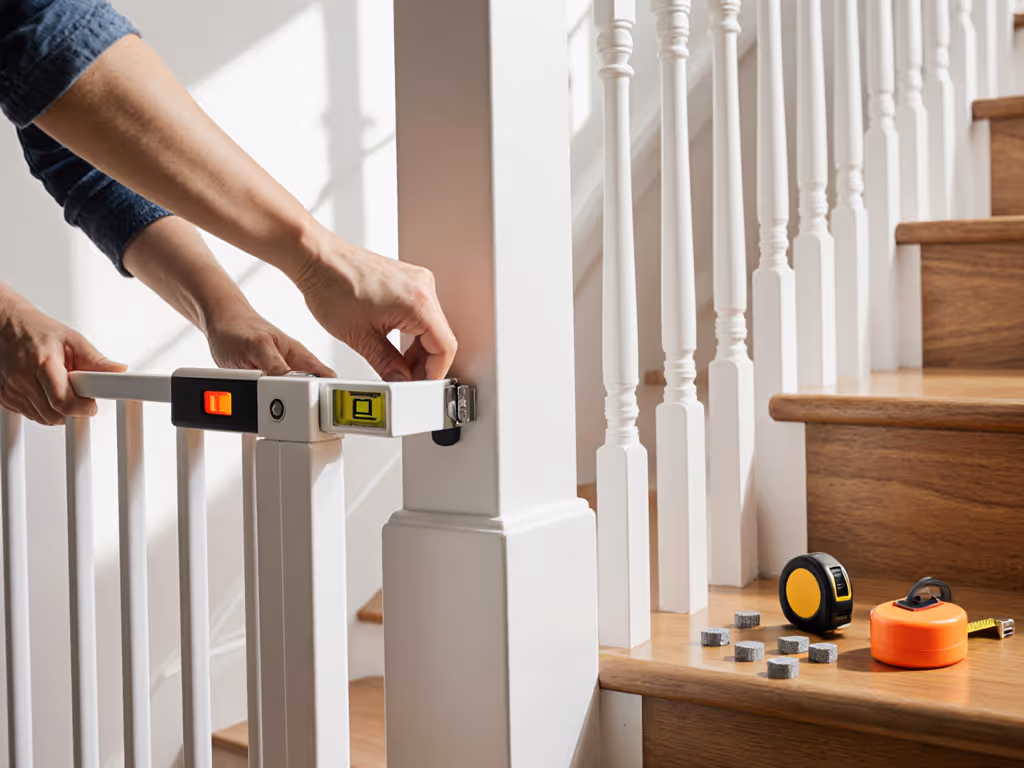
Shim smart, mount square. A precise plan beats trial-and-error, measure flow, then mount once.
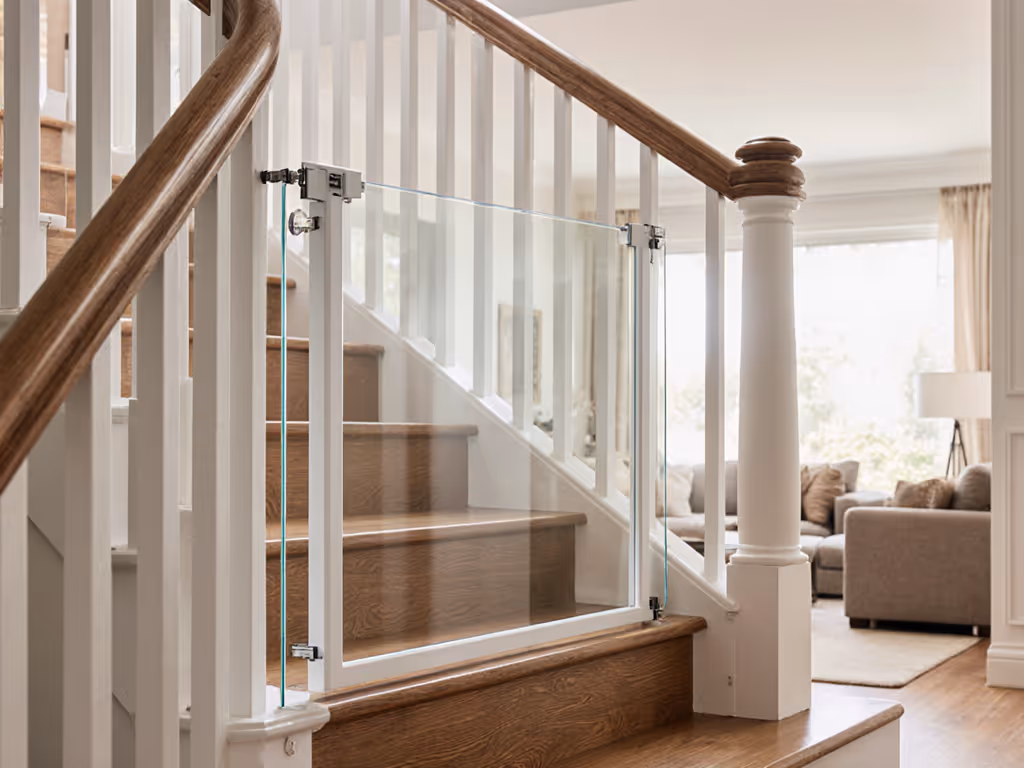
I recently saw a gate mounted on a newel post with a 1.5" baseboard. Every swing dragged the panel across the nosing, stressing the hinge. After six months, the top anchor ripped out of drywall. Sound familiar? This isn't user error, it's a failure to account for reveal (the gap between gate frame and wall surface) and swing clearance. Your first diagnostic step must map these variables:
- Check plumb: Use a level vertically along the gate frame. Any tilt > 2° magnifies side-load stress.
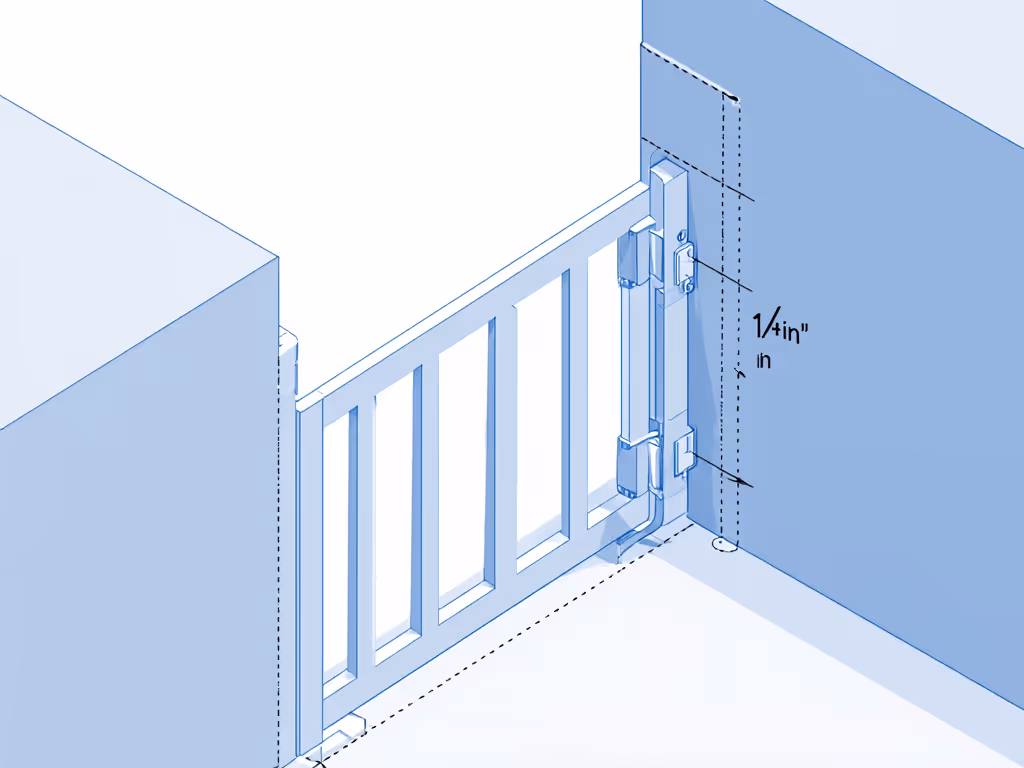
- Measure reveal: Tape the gap between the mounting bracket and wall/banister. Irregular reveals > 1/8" need shims.
- Test clearance: Open the gate fully. Does it rub baseboards or trim? Millimeter-level interference accelerates wear.
The 4-Point Gate Safety Check Protocol (Do This Monthly)
1. Hardware Tension & Integrity
Gate hardware tightening isn't just about cranking screws. Over-tightening cracks plastic; under-tightening invites movement. Follow this sequence:
- Inspect fasteners: Look for "cam-out" marks (stripped screw heads) or drywall dust, signs anchors are failing.
- Test pull strength: Apply steady upward pressure on the gate top rail. If it shifts > 1/16", anchors are compromised.
- Verify hinge play: Insert a business card between hinge pins and brackets. Movement > 0.5mm means replace hinges immediately.
Critical note: At stair tops, never use pressure mounts alone. The CPSC requires hardware-mounted gates here because tension gates can dislodge under load. For a deeper breakdown of pressure vs hardware mounts at stairs, read our expert guide. If renting, use banister clamps with integrated shims (e.g., adjustable U-brackets) that distribute force across newel posts, not drywall.
2. Compliance Gap Audit
"Wear and tear signs" hide in plain sight. Check these CPSC-mandated zones:
- Bottom spacing: Slide a toilet paper tube (≈1.25" diameter) under the gate. If it passes freely, toddlers can squeeze through. The CPSC uses a "small torso probe" pushed with 25 lbs of force, your test must simulate this.
- Top rail height: Measure vertically from floor to the lowest point of the top rail. It must hit ≥22" even when pressure is applied. Sagging gates often dip below this.
- Push-out resistance: Brace the gate frame. Push horizontally at the latch point with 30 lbs of force (use a luggage scale). If it moves >1", the gate won't resist a charging toddler.
3. Swing Path & Latch Integrity
An auto-close gate that sticks is a death trap. Test it with:
- Angle sweep: Open the gate to 15°, 45°, and 90°. It must close reliably from all positions. Sagging frames cause failures at shallow angles.
- Lift test: Lift the gate handle. If it requires >5 lbs of force (a toddler's max grip strength), it won't engage consistently.
- Lubricant check: Dribble olive oil on hinges/latches. If movement improves immediately, grit or corrosion is impeding function.
4. Longevity Killers (And How to Stop Them)
Safety gate longevity crumbles when you ignore environmental stress. Watch for:
- Baseboard conflicts: Quarter-round molding traps mud, forcing gates to mount proud of the wall. This creates a pivot point that guarantees loosening. Fix: Stack acrylic shims between bracket and wall to maintain flush contact.
- Carpet compression: Thick rugs let gates sink over time, reducing tension. Solution: Mount brackets to a hardwood threshold plate (screwed directly to subfloor).
- Pet interference: Dogs leaning on gates cause cyclical stress. Combat with anti-sway brackets that anchor to the opposite wall.
Renter-Safe Fixes That Won't Cost Your Deposit
Hardwood floors? Plaster walls? Tenants fear drilling, but gate adjustment techniques exist that leave no trace. My go-to approach:
- Map wall structure: Tap walls to find studs. For drywall/banisters, use a stud finder with depth detection.
- Choose removable hardware: Toggle bolts (e.g., SAM mantle clamps) pull out cleanly; drywall anchors leave dime-sized holes.
- Shim for perfection: Layer 1/16" plastic shims behind brackets until gaps vanish. Glue shims with removable adhesive putty.
- Test removal path: Before final mounting, unscrew one bracket. Can you access fasteners without sawing drywall? If not, reposition.
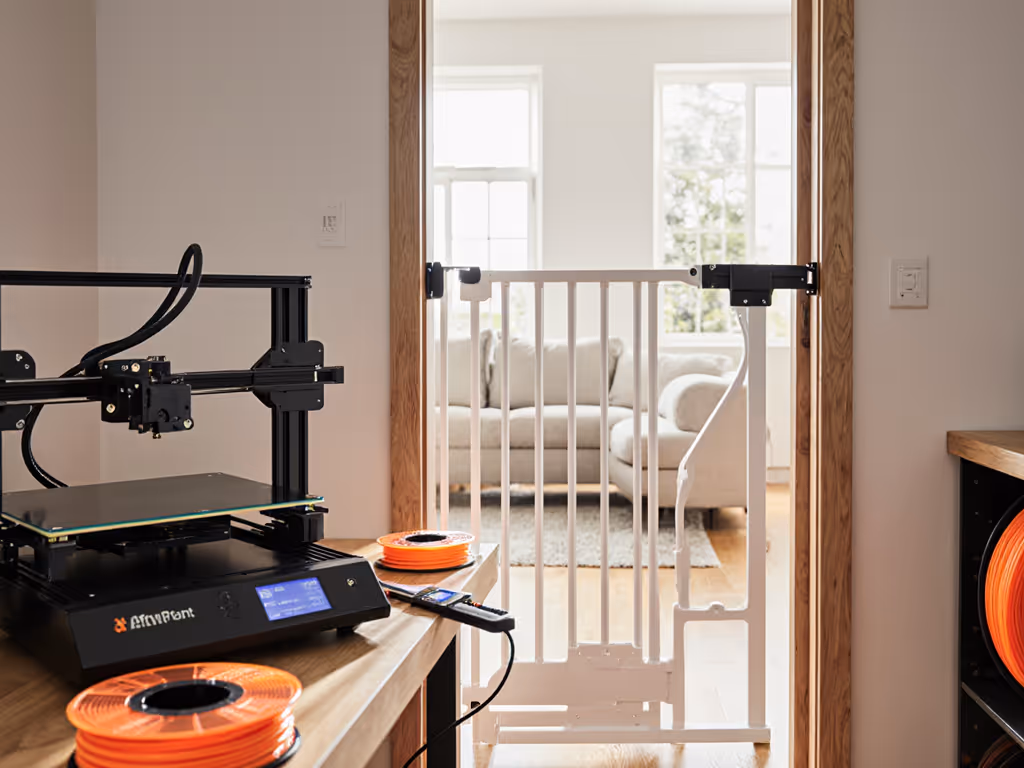
Once, a client's curved banister needed a custom bracket offset. We laser-measured the radius, 3D-printed a spacer, and mounted with four #10 screws into the newel post's structural core. Result? Zero wobble, zero damage on move-out. That's precision engineering.
The Final Checklist: Is Your Gate Truly Safe?
Before trusting your gate, run this 60-second verification:
- ✅ Top rail stays ≥22" high under 45 lbs of downward force
- ✅ Toilet paper tube cannot pass under the gate
- ✅ Gate swings freely without rubbing baseboards
- ✅ Pulling the latch requires ≤5 lbs of force
- ✅ Bracket reveals are shimmed to ≤1/16"
- ✅ All fasteners sit flush (no cam-out marks)
If any item fails, stop using the gate immediately. A toddler's curiosity exceeds any "good enough" fix.
Your Actionable Next Step
Grab your tape measure and flashlight right now. Measure the gap between your gate bracket and wall surface at 3 points: top, middle, bottom. If discrepancies exceed 1/8", you've found your wobble source. Next, test push-out resistance with a luggage scale. Document results. If force is <30 lbs or gaps are uneven, stop using the gate at stair tops today. Visit a hardware store for shims and toggle bolts, $5 spent now prevents a hospital trip later. Remember: Shim smart, mount square. A precise plan beats trial-and-error every time.
Related Articles