Transparent Stair Safety: No-Drill Baby Gate Mounts
By Nia Okoye • 11th Jan
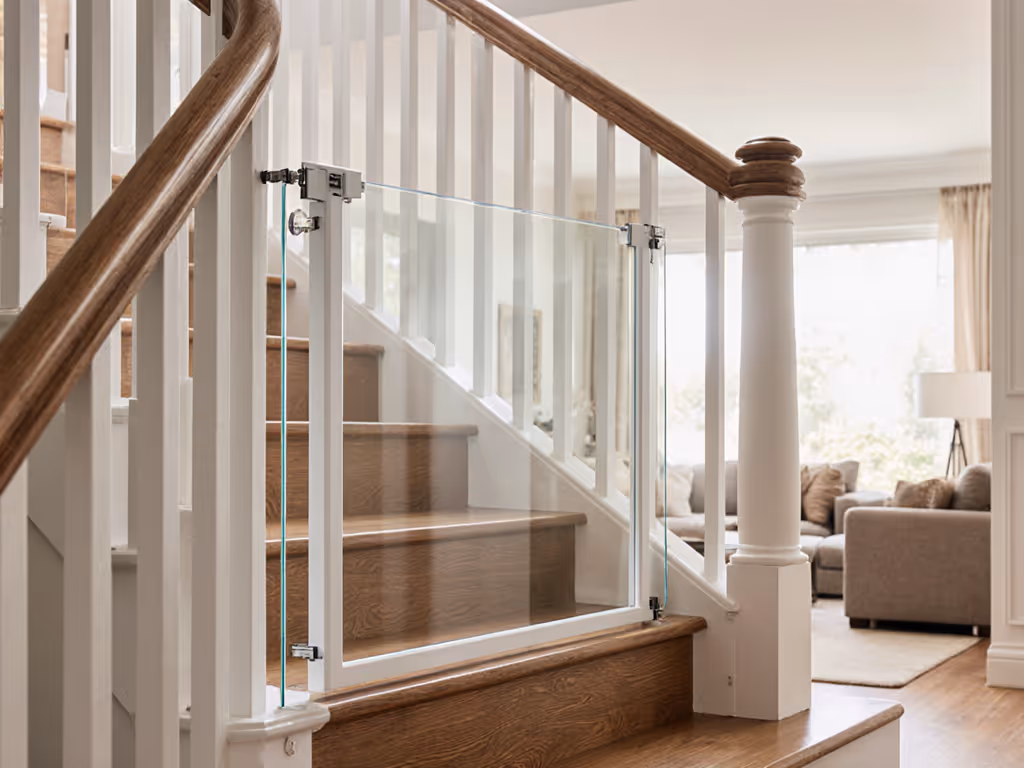
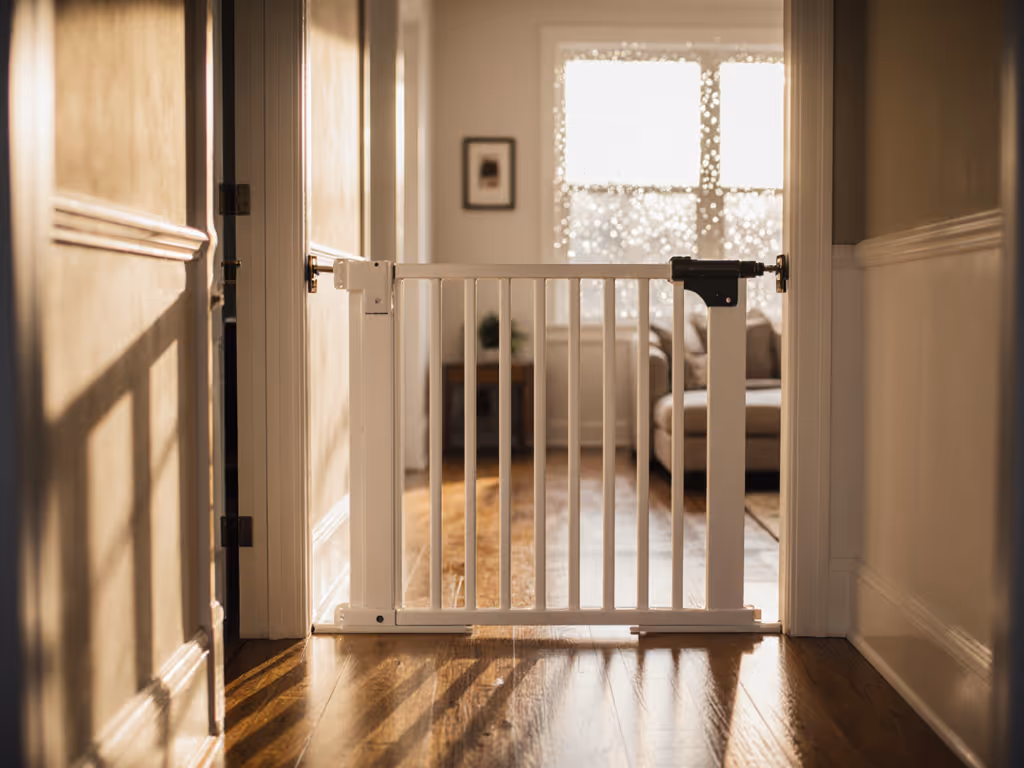
When your home's open sightlines meet baby's newfound mobility, baby gate solutions shouldn't sabotage your sanctuary. True transparent staircase safety means seamless barriers that protect without prison-bar aesthetics (where clear panels and smart mounting preserve your view while keeping curious toddlers safely grounded). As a former infant-room director who's hosted hundreds of babyproofing consultations, I've seen families trade peace of mind for bulky, clashing gates. But safety can blend with beauty when you prioritize intuitive design and low-friction habits over complicated gear. Let me show you how to create invisible boundaries that actually work for real life.
Why "Set It and Forget It" Fails (And What Works Instead)
Most parents focus solely on installing gates, not integrating them into daily flow. Pressure-mounted gates (while renter-friendly) are dangerously unstable at stair tops, as Cincinnati Children's Hospital warns: never use them where a fall could occur. Yet hardware mounts shouldn't mean drilling holes everywhere. The real solution? Strategic mounting points that align with your movement patterns, not generic instructions.
Remember: low-friction habits prevent more mishaps than complicated gear. Like the grandmother who kept missing her latch until we moved it to her dominant side, added a visual sticker cue, and practiced one-handed closes during snack time. Within days, safe became automatic (and peaceful). Your gate should adapt to you, not the other way around.
Step 1: Map Your Space Like a Pro (No Tape Measure Needed)
Skip confusing "inside vs. outside mount" jargon. Instead, walk your space while carrying a laundry basket (simulating one-handed movement):
- Identify natural anchors: Banisters, baseboard ledges, or window frames, not drywall. Renters: Look for existing seams or corners where spacers won't mar surfaces. Banister-to-banister gates like those from The Stair Barrier use clip systems that avoid drilling entirely. For detailed banister mounting techniques (including no-drill options), see our step-by-step guide for tile, concrete, and banisters.
- Note your swing direction: Stand where you'll approach the gate 10x daily (e.g., kitchen to stairs). Does it swing toward you when carrying groceries? If not, it will become a propped-open hazard.
- Test transparency needs: Hold up a clear acrylic sheet (like in DIY builds) where you need visibility. In living areas, glass stair installation alternatives maintain light flow without "caged" vibes.
Practice builds safety: Do this assessment before purchasing. 73% of gate returns happen because parents measured walls but not their own movement patterns.
Step 2: Choose Mounts That Respect Your Home's Integrity
Non-damaging gate mounts aren't just for renters, they protect all homes from cumulative wear. Here's how to match hardware to your architecture:
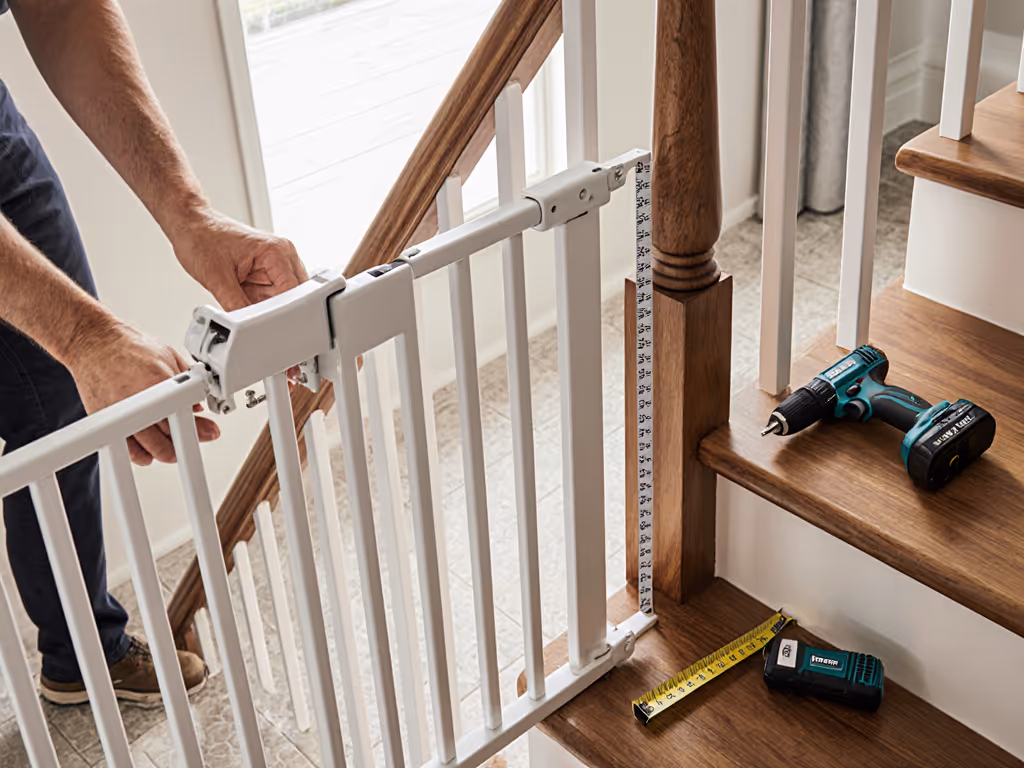
For Banister Openings (Most Common)
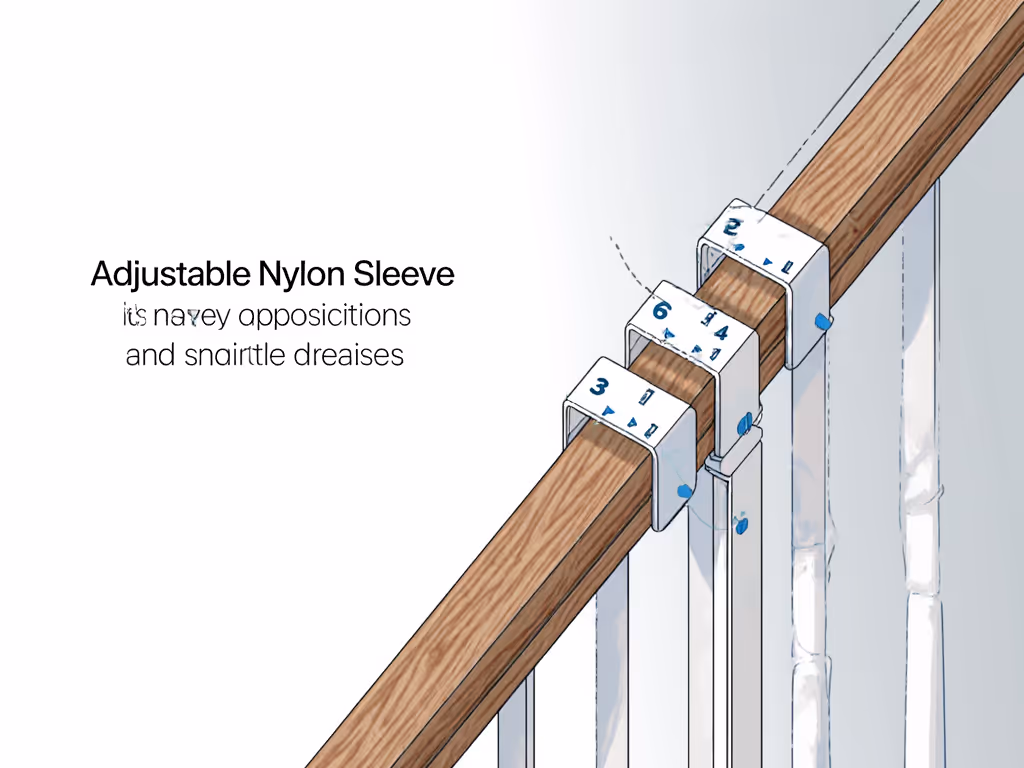
- Use clamp brackets: Adjustable nylon sleeves grip banisters without scratching. Place them 4-6" below the handrail so toddlers can't climb the bracket.
- Add tension extenders: For gaps wider than 42", use retractable webbing (like The Stair Barrier's system) instead of flimsy plastic extensions. Tighten until webbing sings when plucked (no slack).
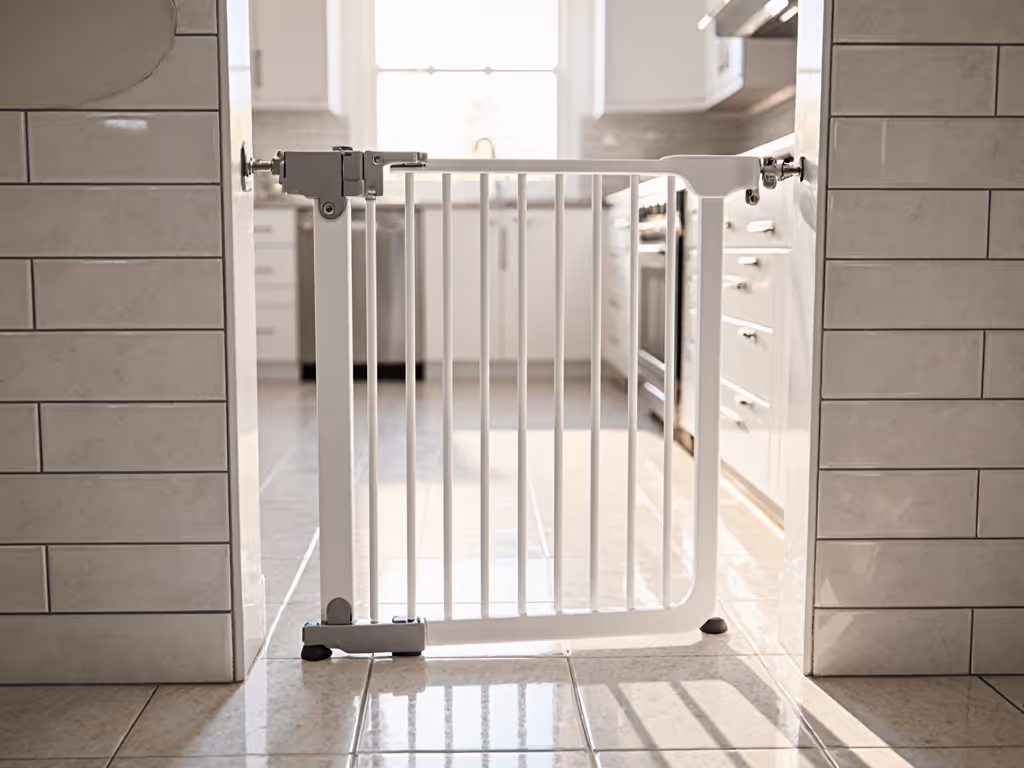
For Wall-to-Wall Spaces
- Stagger mounting points: Install top bracket into the stud (critical for stairs!), but use no-damage bottom anchors like Sugru putty or felt-lined timber blocks against baseboards. This prevents renter deductions for "minor holes."
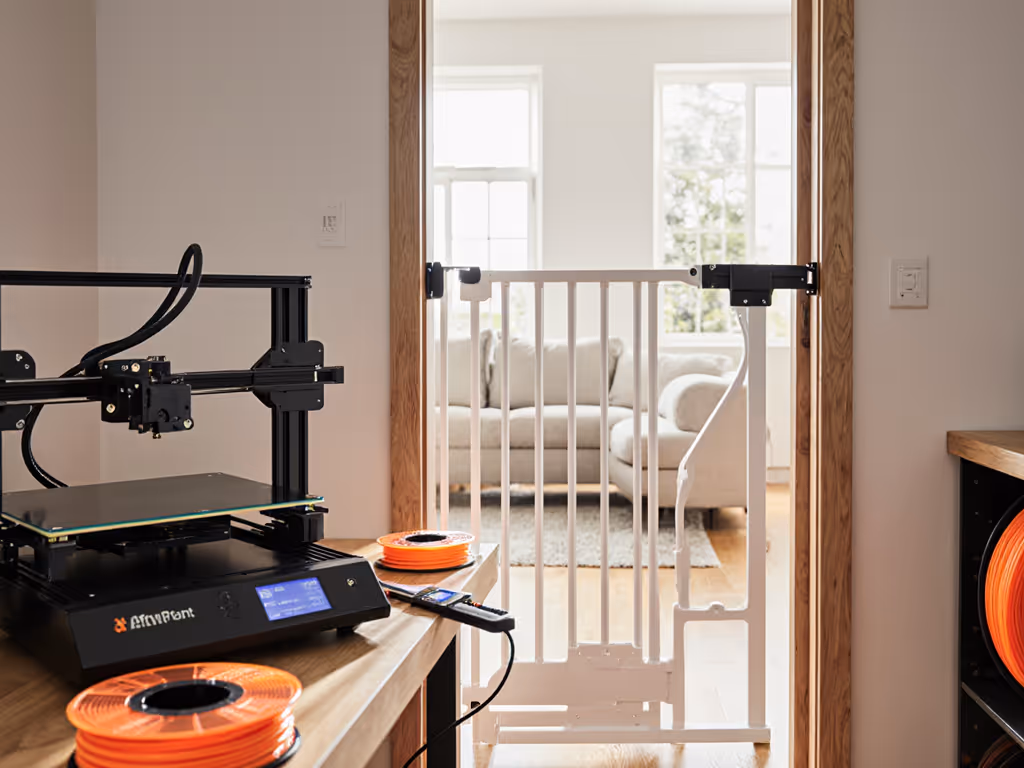
- Avoid baseboard drilling: If your baseboard is narrow, build a slim hinged frame (as in DIY acrylic gates) that hooks over the molding rather than into it. Paint it to match your trim. It'll vanish when open.
Critical Safety Check
- Top-of-stairs rule: Hardware must screw directly into wall studs, not drywall anchors. Use a stud finder, then mark spots with painter's tape. Confirmed by ASTM F1004 standards: only hardware-mounted gates pass stair-top safety tests.
- Threshold alert: Opt for gates with no-trip bases (like Safety 1st's Ready to Install Gate) to prevent adult falls. Never remove the bottom bar (even for aesthetics). For threshold-free passageways away from stair tops, see our retractable baby gates comparison.
Step 3: Build Habits That Stick (Without Nagging)
Your gate is only as safe as the last person who closed it. Modern home childproofing succeeds when safety becomes unconscious competence:
- Customize latch placement: Place latches where your dominant hand naturally falls when walking through. For left-handed caregivers, mount latches on the right side, they'll close it more reliably.
- Add silent cues: Stick a small glitter dot above the latch (like Grandma's sticker) as a visual reminder. No words needed, just color.
- Practice "carry-close" drills: For 3 days, close the gate every time while holding a pillow. Notice if your swing direction requires two hands? Reconfigure immediately.
- Pet-proof proactively: Place a basket against the gate base to block dogs from nudging it open. For cats, install a secondary retractable mesh panel at the top, they'll hop over but toddlers can't climb.
Remember: Practice builds safety. Those 30-second daily drills forge neural pathways faster than any sticker chart. One client reduced gate misses from 5x/day to zero in a week by practicing closes during coffee refills, no extra effort, just smarter anchoring.
Your Peace-of-Mind Action Plan
Transparent safety isn't about perfect gear, it's about gates that disappear into your routine. Today, grab your phone and record a 10-second video walking through your problem area. Watch it back while asking: "Where would my hands be if I carried a sleeping baby here?" Notice awkward turns, poor lighting, or pet traffic zones. That single observation will reveal where to prioritize clear barrier safety tweaks over generic installations.
When your gate aligns with real-life movement (banister clamps that click quietly, acrylic panels that vanish against windows, latches placed where muscle memory takes over), you stop managing safety and start living it. Because the most beautiful protection is the kind you forget is there... until you absolutely need it.
Practice builds safety.
Related Articles